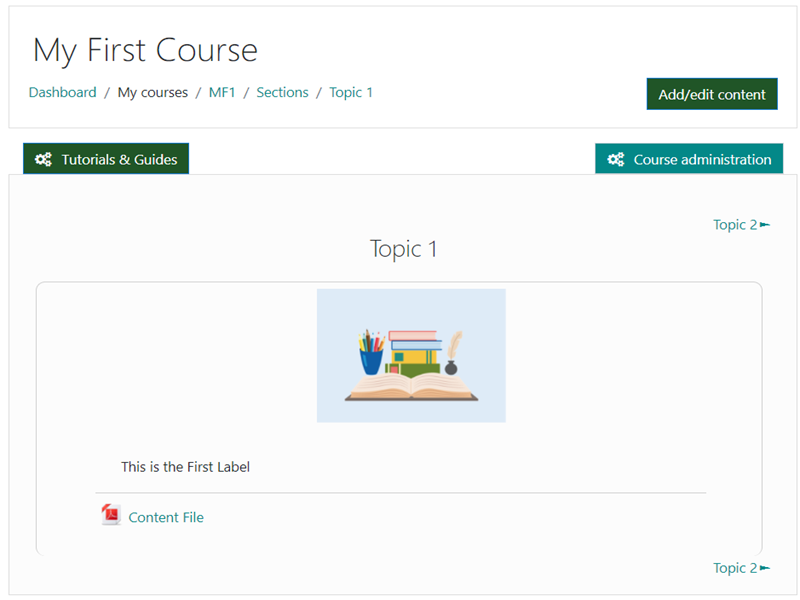
Course Screen
This is a brief overview* of how the course screen works and what different menus and actions you can access directly from this screen. In short, this is where you will spend most of your time creating and editing your course until you are happy with the results and you are ready to publish it to your students.
*Please note that this is only an overview and that you can access detail information for each function as a separate topic in these tutorials.

What is happening on the Course Screen?
Everything……
Course screen actions
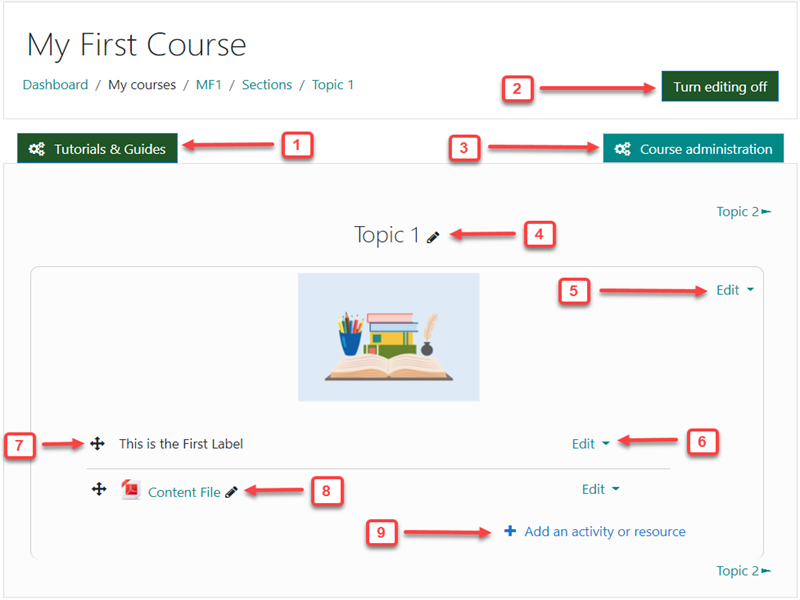
1. Quick access to all the Tutorials and Guides
2. Turn Editing On/Off. This is where you activate the edit modes to access all the options you see on this screen
3. Course Administration button gives you access to a wide array of course settings and options. Please refer to the Tutorial section on Course Administration for more.
4. By clicking on the small pen next to the Topic title you can directly edit this Topic title in-line. When you are done editing, just enter for changes to take effect.
5. This Edit drop down gives you access to edit the Topic, including changing the image to your preference, as well as highlighting, hiding or deleting the Topic.
6. This is the same kind of Edit drop down menu but it allows you to edit, duplicate or delete the associated Activity or Resource.
7. By clicking and holding down your mouse key you can drag and drop these activities and resources to any other place in the course.
8. By clicking on the small pen next to the activity name you can change the name of the activity directly in this screen.
9. Click on + Add an activity or resource to open a pop-up menu which lets you add Activities or Resources to your course. Please see more detail on this in the Documentation section on this topic.
