Add an activity or resource
This is a brief overview of the “Add an activity or resource” function found on the Course Screen
The screens below will provide you with an introduction for how to start adding content to your course.
1.
You are now ready to start adding content to your course.
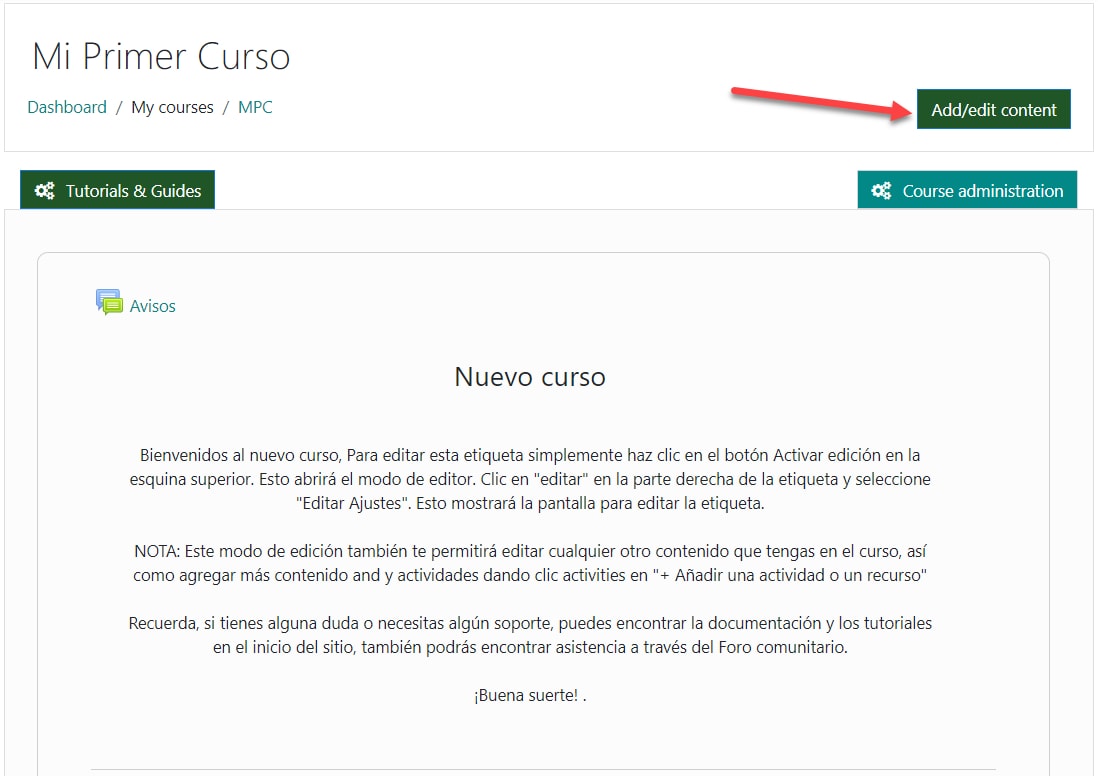
Start by clicking on the Add/edit content button to change to edit mode
2.
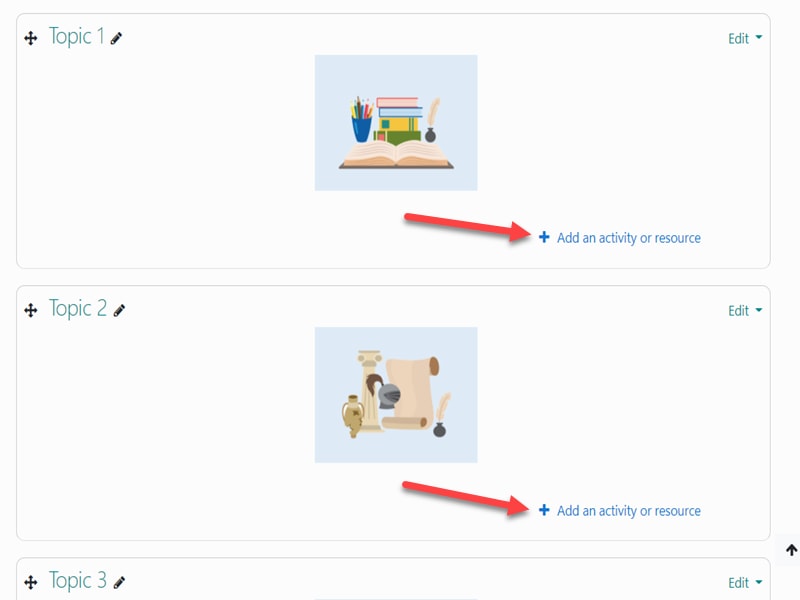
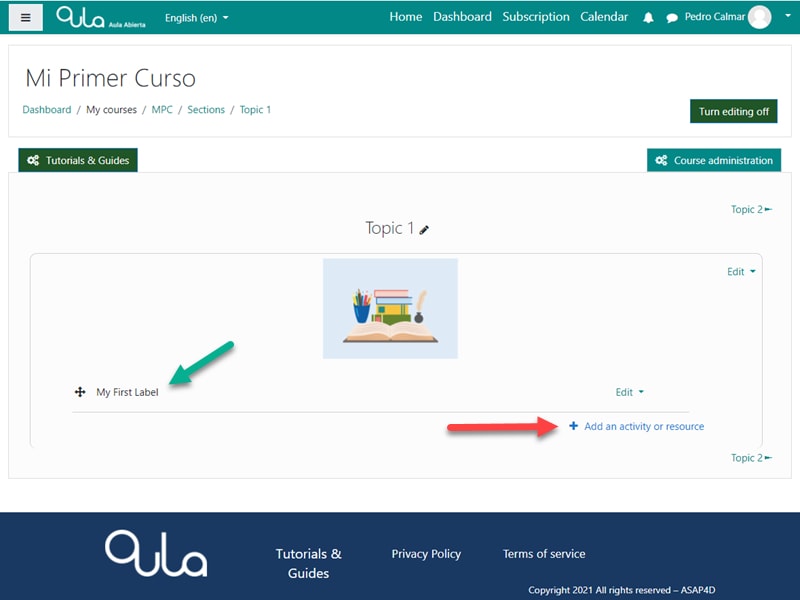
This changes the screen to where you can Edit existing content (see Add/edit content tutorial for details) and where you will also find a link “+Add an activity or resource”
3.
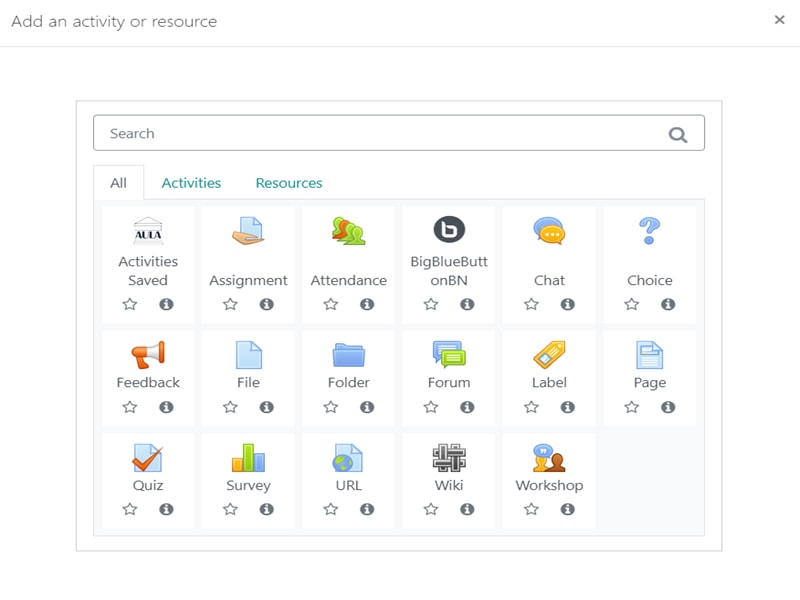
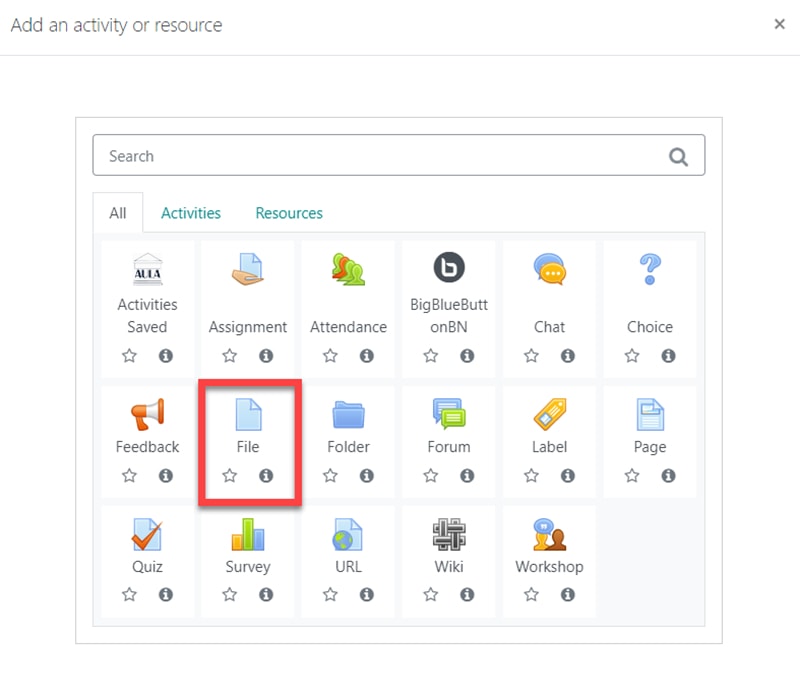
This link opens up a pop-up window which will display all the content types available to you.
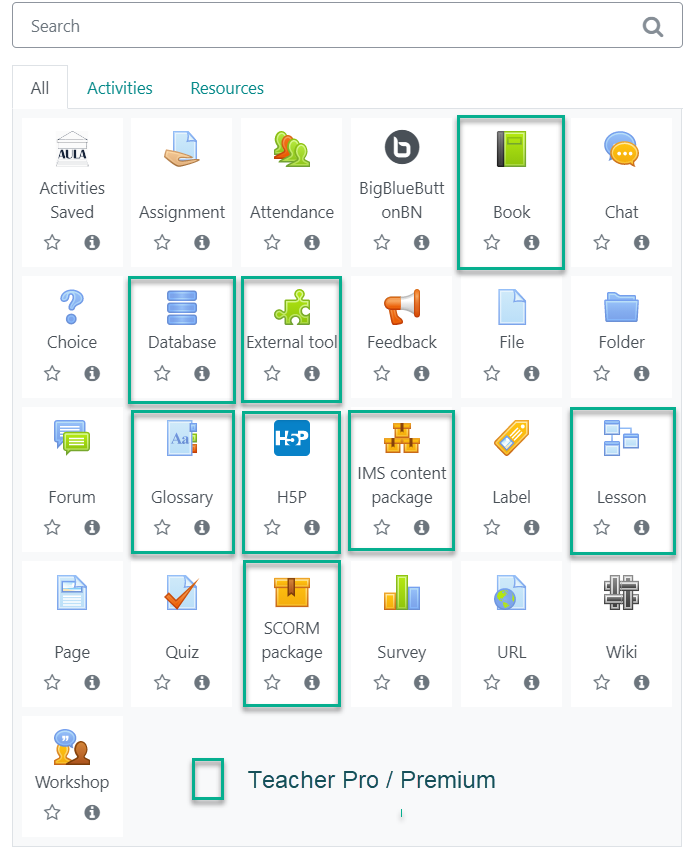
This depends on your subscription type as indicated in the image to the right.
Teacher Pro/Premium only activities and resources are indicated with a green rectangle and all the rest are available for the Teacher Basic role.
4.
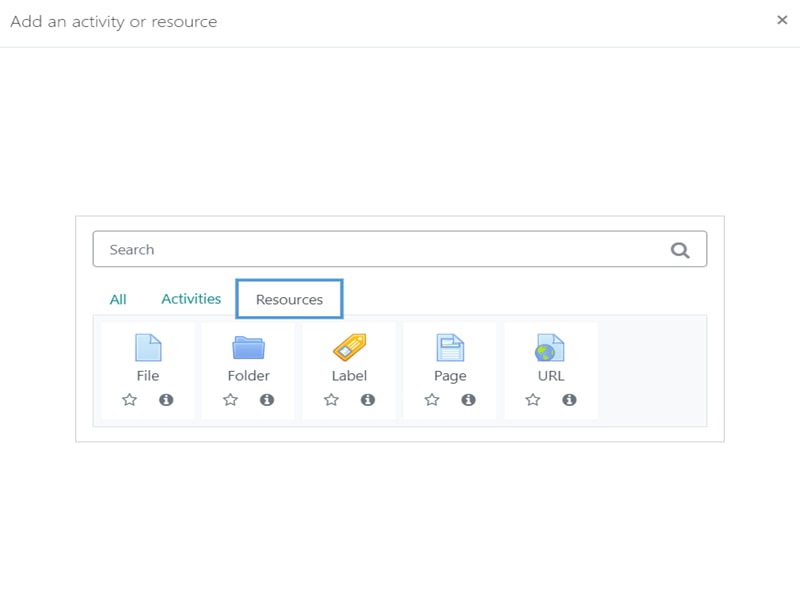
In this Tutorial we will show the Teacher Basic Activities and resources as indicated in image 1 on the right.
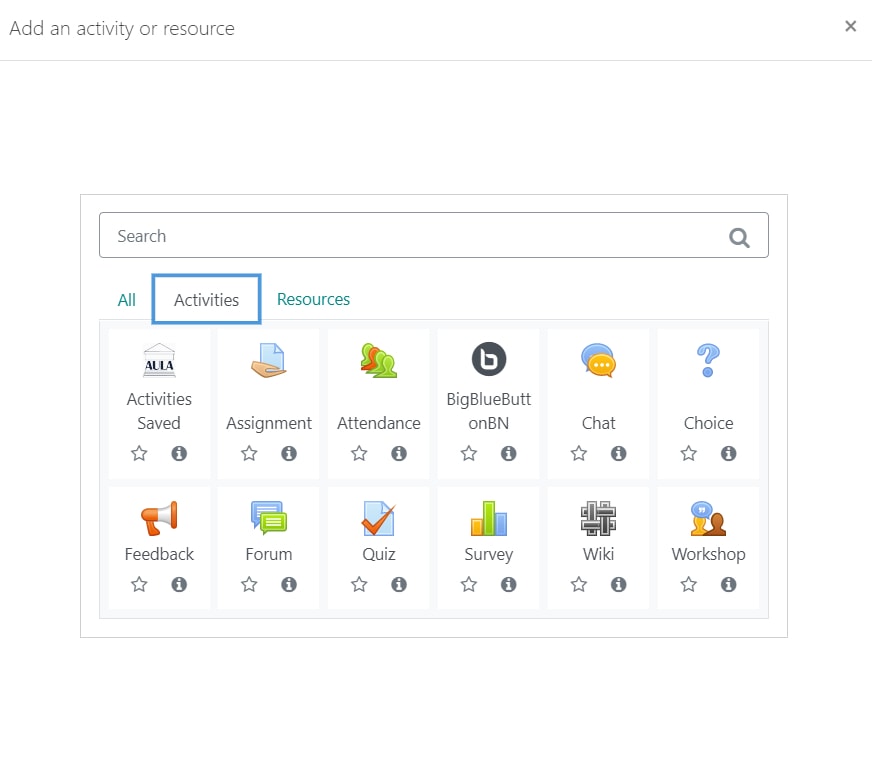
If you click on the forward arrow in the image it will display the content types as shown in the tabs
- “Activities” and
- “Resources.
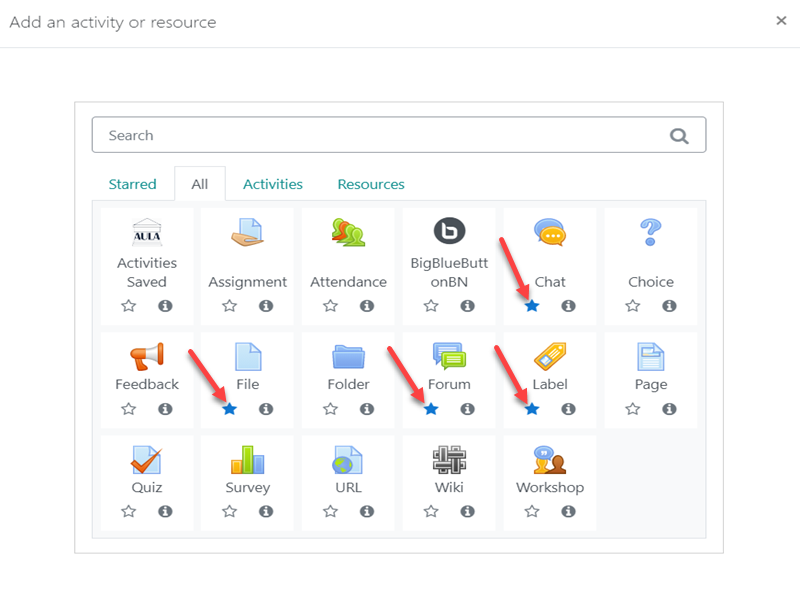
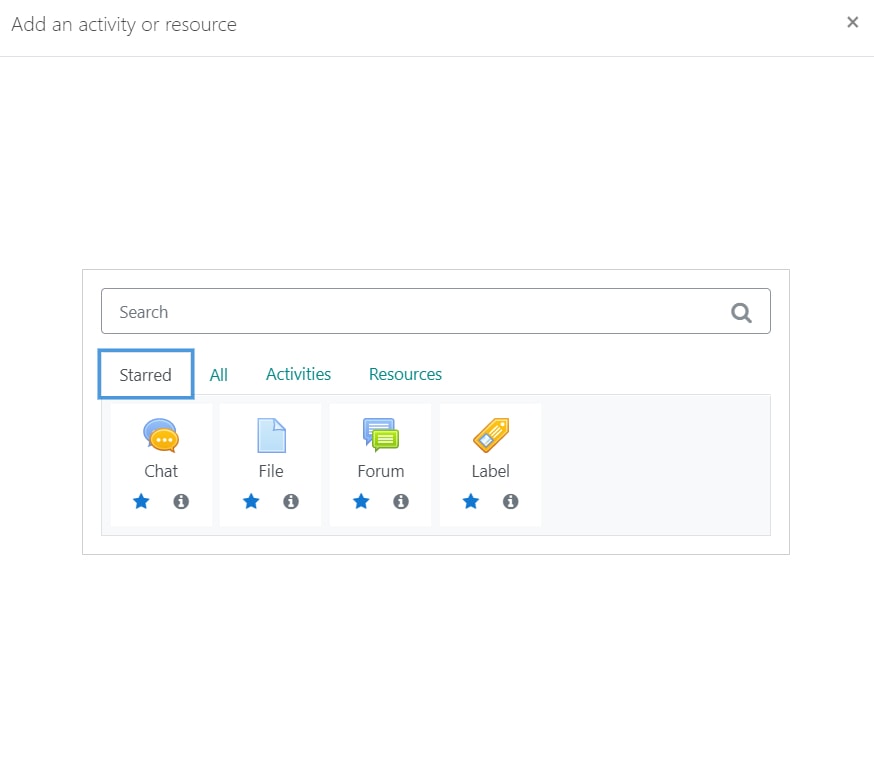
Images 4 and 5 will show you how you can click on and highlight the stars to create your own quick access tab for the content types you use most often.
5.
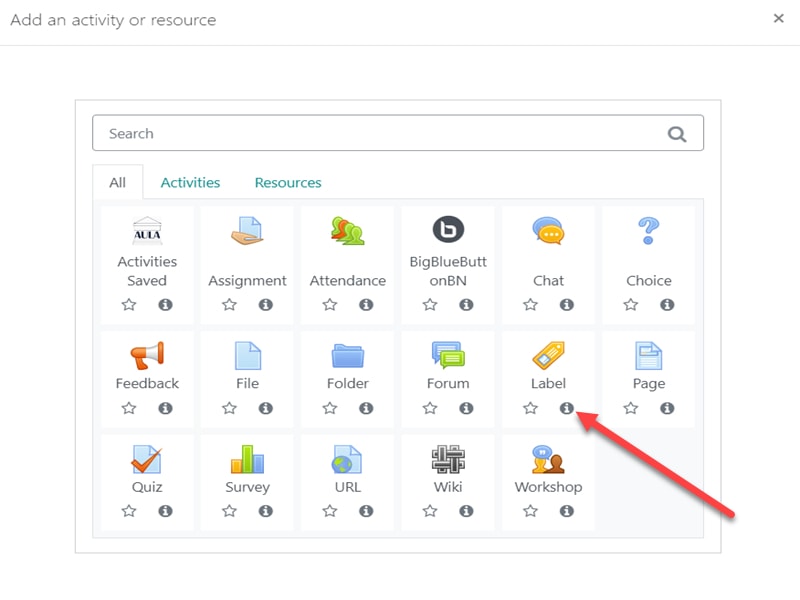
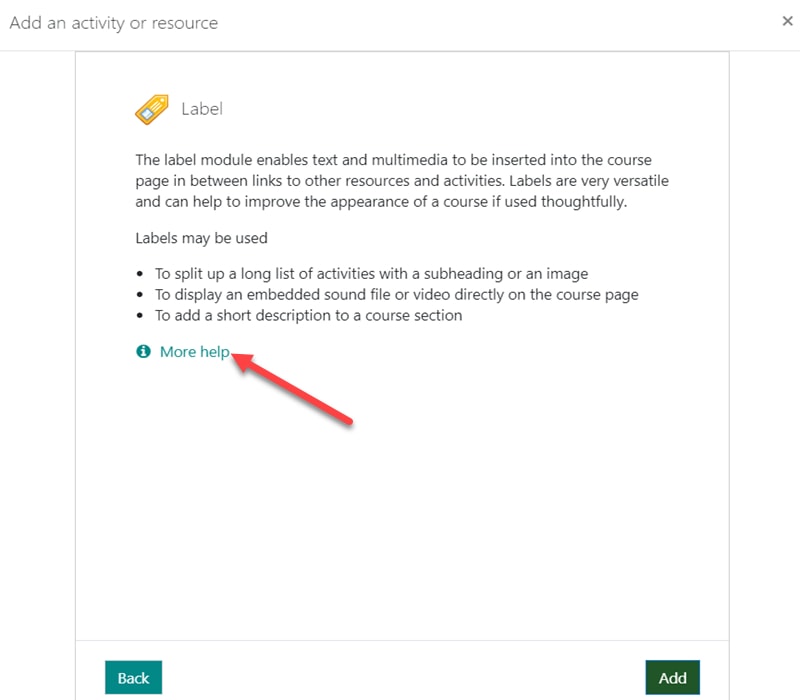
1. You can also find more information regarding each content type by clicking on the small (i) icon in each of the content squares.
2. Slide two will show this and will display a link “(i) More help”
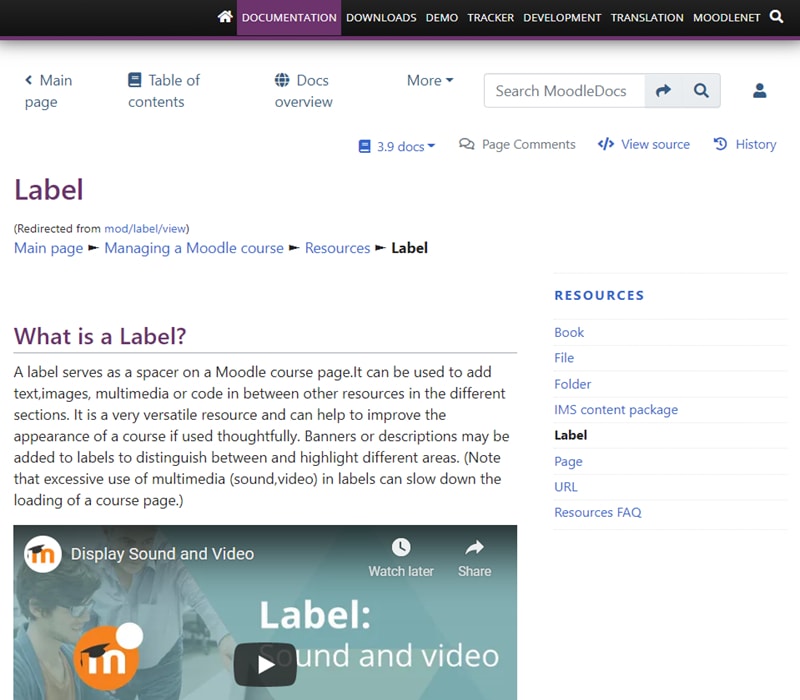
3. Slide three will show how this link will connect you straight to the associated information from the moodle.org web site where you can find even more detailed help.
6.
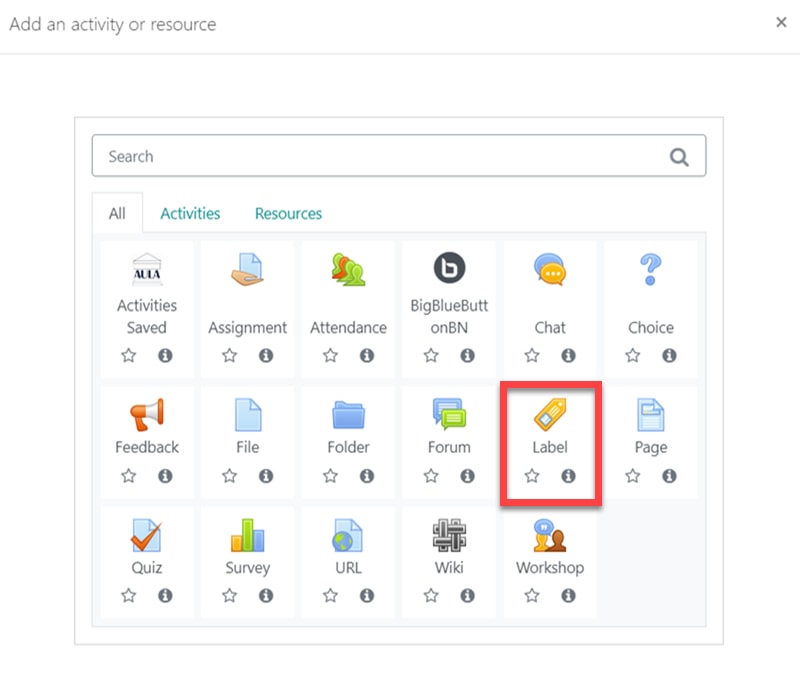
To add a resource, such as a label, to your course, click on the Label icon in the window
7.
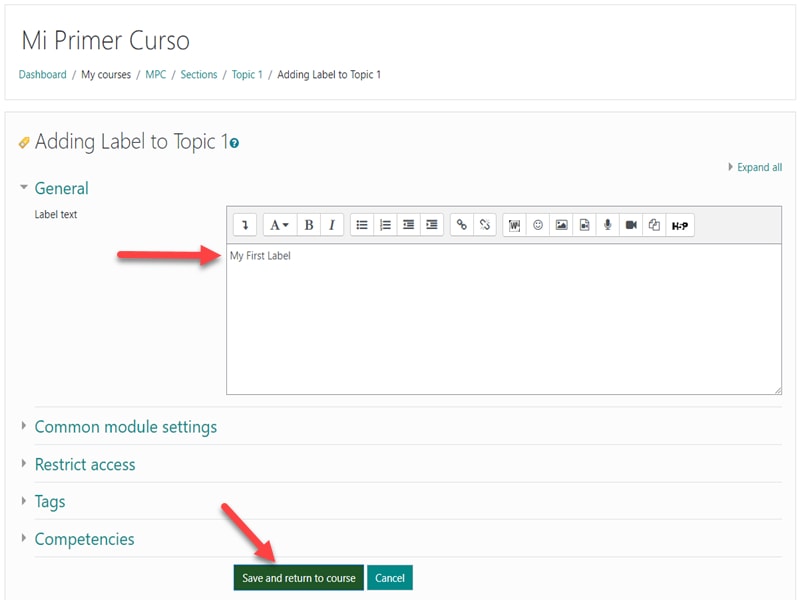
This brings you straight to a screen where you can define and edit your label as well as control various module settings.
Note that the edit window gives you a number of standard font and edit controls for label design (see more detail on this in the Tutorial “Editors”).
It also gives you the option of inserting images and/or videos. You can even record both audio and video directly from this edit screen and it will automatically place an audio or video player as a label in your course. This is a great way to introduce each topic to your students in a more personalized manner.
When you are finished, just click on the green button to Save and return to the course.
8.
As you can see here, the label is now added to the course page.
We are still in edit mode and so let´s look at adding another content type.
Again we need to just click on the “+ Add an activity or resource”
9.
This opens the window to add content and this time we will chose to add a File to the course.
10.
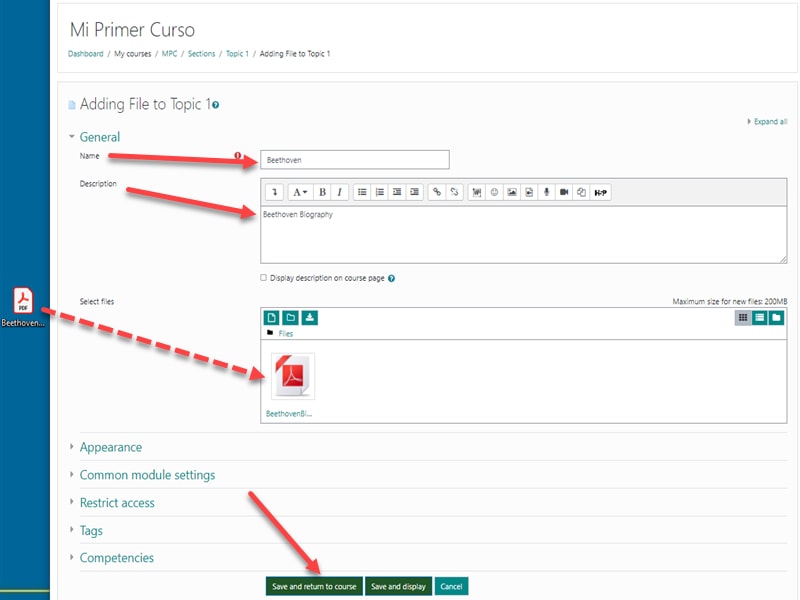
A slightly different window opens this time as each content type will provide the appropriate input and edit choices.
Here we put in a name for the file and if we want, a description.
We now have various choices for importing the file the course and you can see all the details regarding this in the Tutorial section on “File Picker”.
In this example we are going to use the easiest method which is to simply drag and drop the file from you computer desktop into the “Select files” window.
Finally just click on the green button to “Save and return to course”
11.
And we are done!
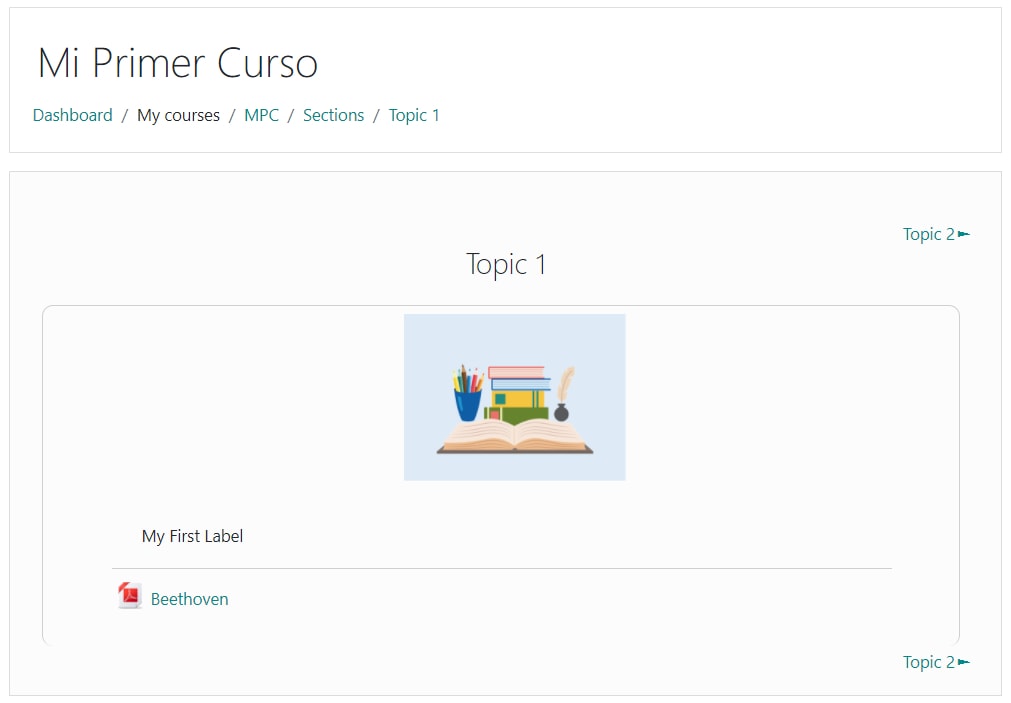
The image on the right shows how this screen will appear to the student, where of course no editing buttons or controls are visible.
Nice and clean!
Go ahead and explore all the content types and their many options for you to get the most out of your course.
